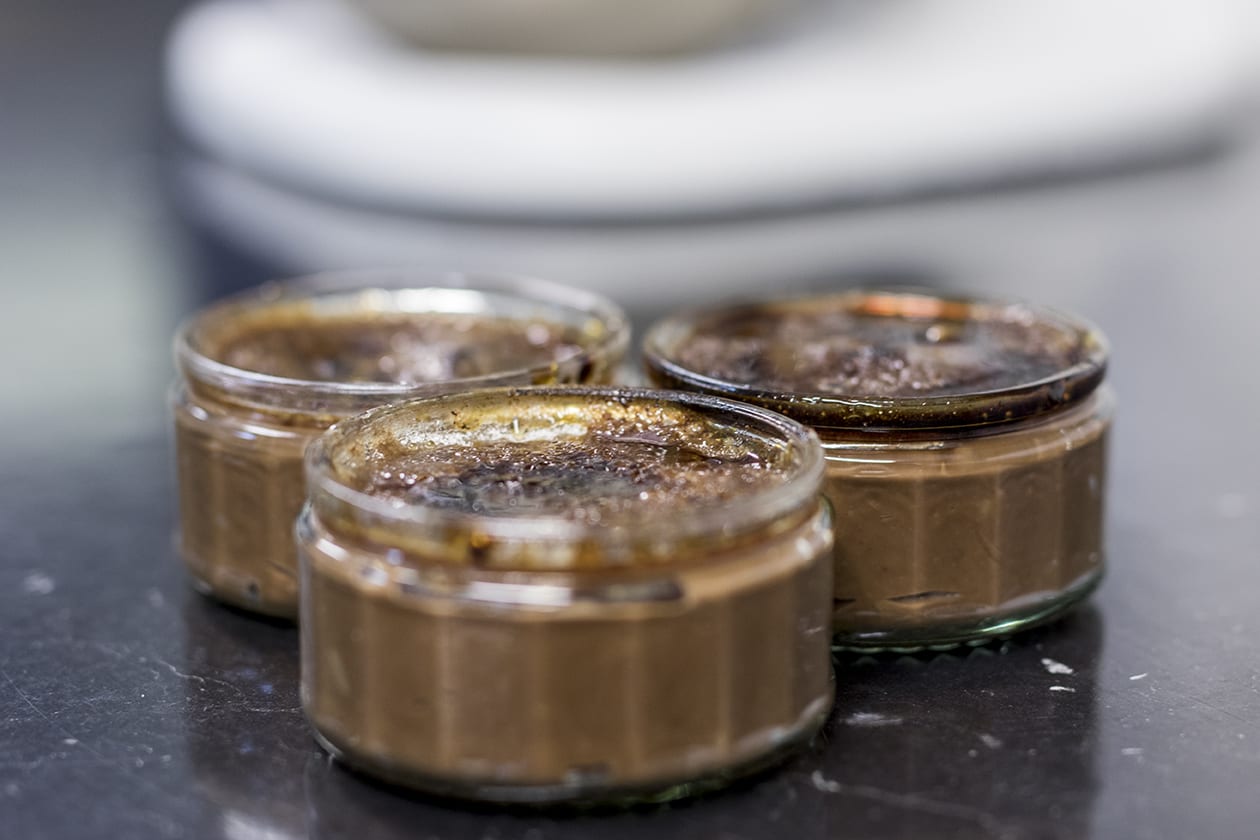
It’s round two of our love for National Chocolate Week, so it’s time to bring you the second of our all time favourite recipes. Our resident baking buff Donna has been at it again, this time wowing us with the Technical bake of our three-part recipe series – and it’s a corker.
She’s whipped up crème brûlées – but they’re not just ordinary crème brûlées, of course there’s heaps of added chocolate to give this classic dessert a modern-day Kernow Chocolate makeover.
Their versatility means they’re perfect for either a wow-factor pud at a dinner party or just a weekend treat. They can be quite tricky to get right, but follow Donna’s simple steps and you’ll have perfect pots of chocolate crème brûlée deliciousness in no time.
About the bake
First, a little history lesson. It may surprise you to learn that scholars from Trinity College in Cambridge claim that the classic crème brûlée originated in England and not, as the name implies, in France, as in the mid 1600s it was known as ‘Cambridge Burnt Cream.’
But whoever the original recipe belongs to, one thing’s for sure: crème brûlée is utterly delicious. It is a rich, silky smooth vanilla set custard embellished by crunchy caramelised sugar.
There are two ways to make this timeless dessert, but however you make them, you need to be paying attention. That’s why we’ve chosen this recipe for the technical bake – you can go from smooth custard to scrambled eggs in a heartbeat.
The ingredients
570ml double cream
150g Kernow dark chocolate (55% or 70%)
6 large egg yolks
4 teaspoons of cornflour
2 tablespoons caster sugar
1 teaspoon vanilla
The Method
1. Take 150ml of the double cream and add the chopped dark chocolate to a heatproof bowl.
2. Set over a bain-marie and melt the chocolate until it is smooth and glossy before taking off the heat.
3. Place the remaining cream in a pan on a gentle heat and warm until it almost reaches a simmer.
4. While the cream is warming, whisk the cornflour, sugar and vanilla into the egg yolks in a bowl. Top tip – place it on a wet cloth to keep it steady.
5. Whisk the yolk mixture continuously and trickle in the warm cream until it is all incorporated.
6. Place back on the low heat and whisk constantly until the custard is thick and smooth. Be careful not to overheat! If it does happen to overheat and lumps begin to appear, take it off the heat and whisk briskly until the consistency becomes smooth again.
8. Next, whisk in the chocolate mixture and divide between 6 ramekins before leaving to cool.
9. Cover with cling film and refrigerate overnight.
10. Finally, to get that gorgeous caramelised top, either preheat your grill to its highest setting or get a cook’s blowtorch ready. Sprinkle 1 tablespoon of granulated sugar on each of the tops of the ramekins and place them under the grill for 4-5 minutes until the sugar has melted and starts to go a very deep brown colour.
See? It’s as easy as that. There’s absolutely no need to be afraid of attempting to make your own crème brûlées at home – so let us know how you get on in the comments.


